Who Can Resist A Sunny Slice of Tahitian Pineapple Pie?
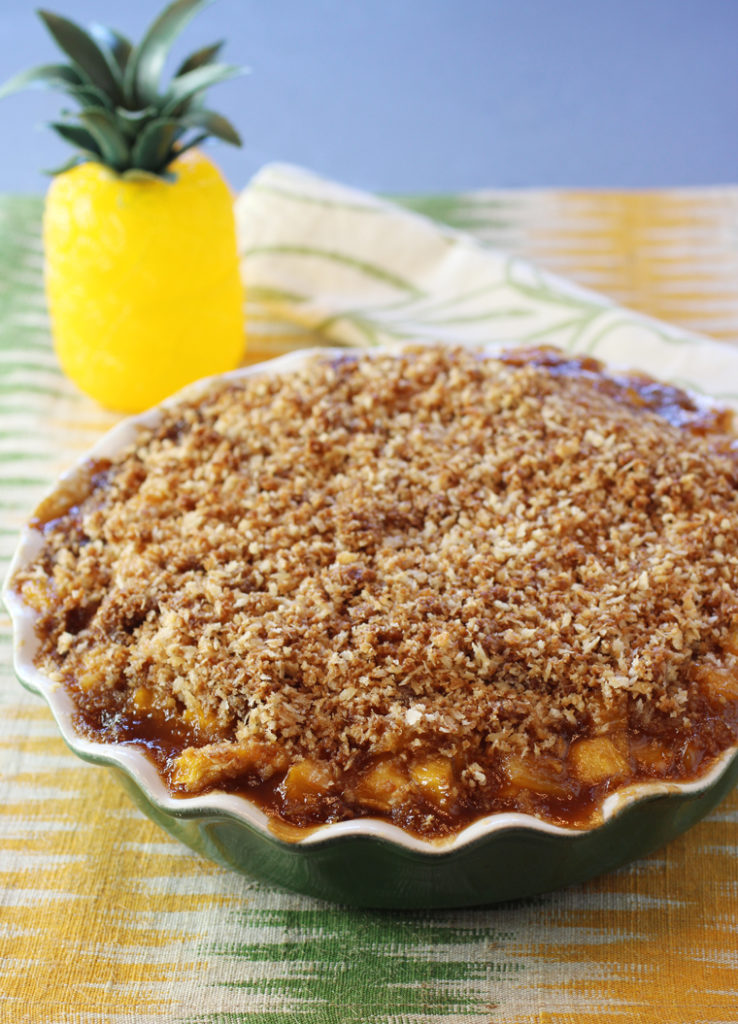
What do two Centers for Disease Control scientists know about making pies?
Apparently, a whole heck of a lot.
Married couple, Chris Taylor, an epidemiologist specializing in Alzheimer’s and aging, and Paul Arguin, retired head of the CDC’s domestic malaria unit, are avid home bakers. After meeting, they began entering amateur baking contests together — and winning them like crazy. To date, they’ve won more than 600 awards, trophies, ribbons and certificates for their glorious pies.
Now, they’re showcasing their fanciful creations in their first cookbook,
“The New Pie: Modern Techniques for the Classic American Dessert: A Baking Book”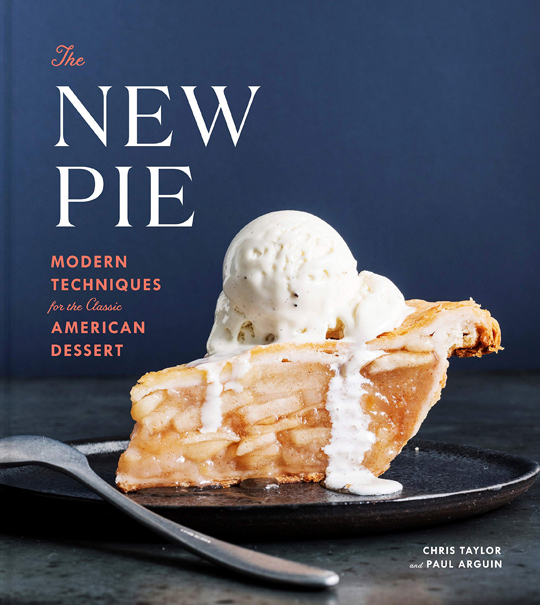
There are pies for every occasion and for every baking level, from the “Mocha Mystery” and “Guavaberry Apple” to “Strawberry Margarita with Salted Rim” and the one that garnered them “Best of Show Winner” at the National Pie Championships, the jaw-dropping “Peanut Butter Checkerboard.”
As befitting two scientists, this is a very technical book, which means the recipes are quite long because they are extremely detailed. So, don’t freak out when you scroll down at the one below.
Their “Tahitian Pineapple” pie is the one I tackled. While I’ve made my share of pineapple upside-down cakes, I’d never made a pie with fresh pineapple at its heart.
This one can be done up royally by decorating it with a fanciful pineapple design piped out of yellow and green glazes. It’s optional. And I opted to forgo it because I figured I didn’t need more sugar. Plus, I’m not after any blue ribbons, just a lovely slice of pie to sink my teeth into.
That’s exactly what I got, too. The pineapple is cooked down on the stovetop with butter, sugar, lime zest, lime juice, vanilla extract, and a little tapioca and grated apple to thicken it all up. Then, it’s poured into a partially baked crust. On top of it all goes a layer of crunchy topping made out of panko bread crumbs stirred with sugar, butter and vanilla extract.
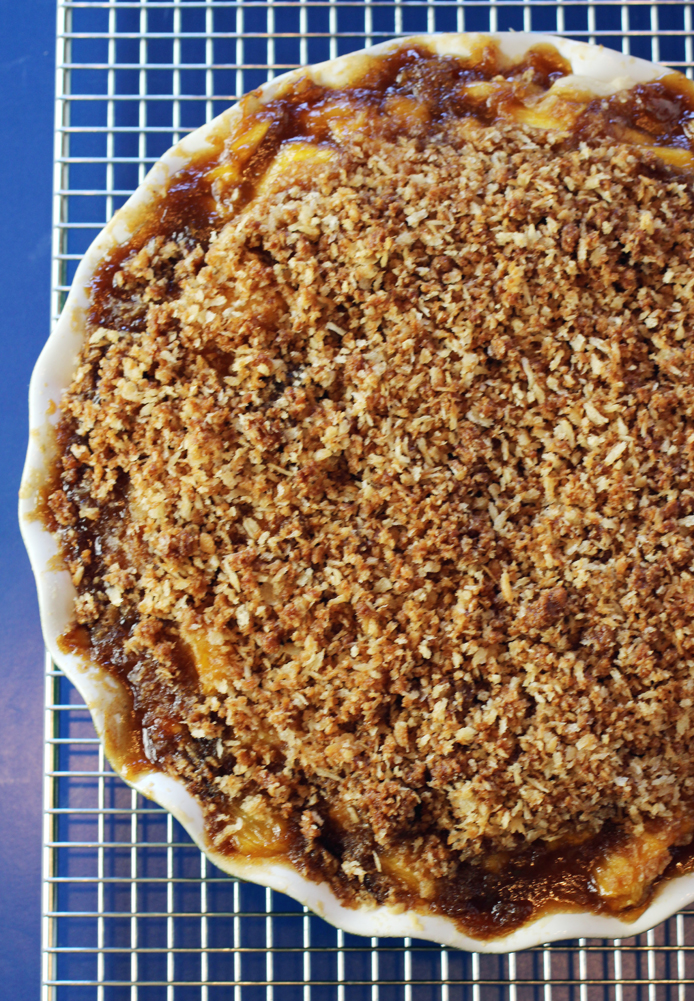
The resulting pie is full of jammy pineapple flavor with a heady taste and fragrance of vanilla. The crust is buttery and flaky, and the panko adds a light crisp top that’s a nice textural contrast to the dense fruit filling. The pie is sweet, tangy, and oh-so tropical. It cries out for a scoop of vanilla ice cream to complete it perfectly.
One word of warning: The original recipe says to let the pie cool at least 4 hours before glazing or slicing. When I tried to cut the pie at that point, I found it still quite loose and liquidy to the point that it would have been impossible to get a neat slice out of the pan.
After cooling for 7 hours, though, the pie had set quite a bit more. I could actually cut it into slices to serve. So I would advise making this pie in the morning if you’re going to serve it after dinner for dessert. You definitely want to give it at least 7 hours of cooling before you serve it.
It’ll be worth the wait.
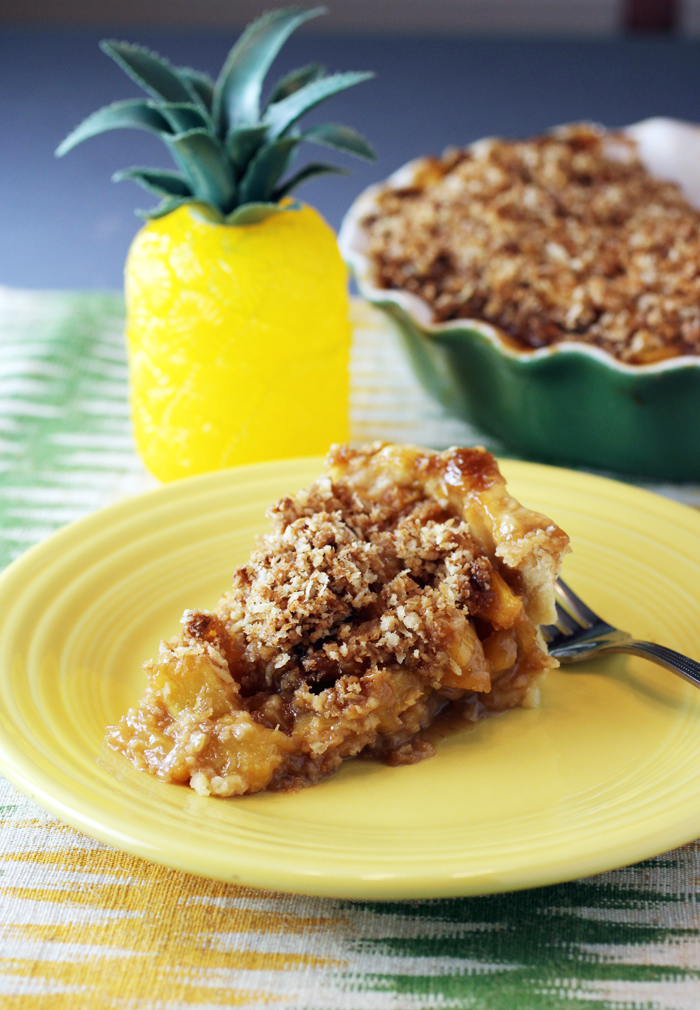
Tahitian Pineapple Pie
(Makes one 9 1/2-inch deep-dish pie)
For Pie Dough:
1 1/2 cups (7.5 ounces) all-purpose flour
1 1/2 teaspoons sugar
1/2 teaspoon salt
1/8 teaspoon baking powder
3 tablespoons plus 2 teaspoons (1.5 ounces) vegetable shortening
8 tablespoons cold unsalted butter, cut into 8 pieces
1 teaspoon apple cider vinegar
3 tablespoons plus 2 teaspoons (2 ounces by weight not volume) cold water
For Crunchy Topping:
5 tablespoons unsalted butter
1 teaspoon vanilla extract
1/3 cup turbinado sugar
Pinch of salt
1 1/4 cups unseasoned panko breadcrumbs
For Pineapple Filling:
4 tablespoons unsalted butter
5 cups fresh pineapples, about 2 medium, cut into 1/2- to 1-inch chunks
1 teaspoon finely grated lime zest
1 medium Granny Smith apple
2 tablespoons fresh lime juice
1 cup turbinado sugar
2 tablespoons plus 2 teaspoons finely ground quick-cooking tapioca (such as Minute Tapioca ground finely in a coffee grinder or spice grinder)
1/8 teaspoon salt
2 teaspoons vanilla extract
To make pie dough using a food processor: Measure the flour, sugar, salt, and baking powder directly into the bowl of a food processor. Pulse the ingredients once or twice to combine them.
Scatter the shortening across the top of the flour mixture in three or four roughly equal nuggets. Pulse three or four times until the shortening seems to be evenly dispersed into the flour. If there are still large visible clumps, pulse one or two more times.
Scatter the butter pieces across the flour mixture, and pulse four or five times. At this point, the flour should appear should appear textured, like coarse cornmeal, with small tidbits (1/4-inch) of butter flecked throughout. If not, pulse one or two more times.
If measuring all ingredients by volume (measuring cups), simply combine the vinegar with the cold water and drizzle all the liquid over the flour. If using a scale, place a liquid measuring cup with a spout on the scale and tare (zero out) the scale to subtract the weight of the measuring cup. Add the measured amount of vinegar to the cup (do not re-tare the scale); now add the cold water to the vinegar so that the combined vinegar plus water equals the weight of cold water listed in the ingredients. Drizzle the liquid over the flour in the food processor.
Using 1-second pulses, process the mixture until it transforms from dry and powdery and just begins to form into a large clump of cohesive dough, five to eight pulses. Stop pulsing once most of the dough is clumped together. The dough may look like pebbly curds of cottage cheese and there may be unincorporated flour in the bowl. This is what you want at this point. If you process the dough until it forms one large ball of dough and starts thwacking around in the food processor bowl, it will be overworked and bake up tough.
Transfer the dough and any remaining unincorporated flour to a smooth work surface (you can use a silicone rolling mat if you like, but we usually do this straight on the counter). To incorporate any loose flour, press and smear the flour across the work surface with the heel of your hand. Gather all the dough and press it into a 5- to 6-inch disc about 1 inch thick.
Wrap the disc in plastic wrap, and smooth the outer 1-inch-thick edge with your fingertips or by rolling the disc along the countertop. These smooth edges will make the dough easier to roll out in a circle. Refrigerate for at least 4 hours but preferably overnight.
When ready to bake, spray a light layer of cooking spray over the inner surface of your pie plate. This provides some extra insurance that each slice is easily removed.
Remove the dough from the refrigerator and unwrap it. Dust a silicone rolling mat, rolling pin, and both sides of the dough disc lightly with flour.
Using a tapered rolling pin in the middle of the disc of dough, roll the rolling pin toward you. Lift the dough and spin it a quarter-turn counterclockwise (use a bench scraper to help release the dough from the surface or mat if needed and re-flour your surface). If you start rolling when the dough is too cold or press too hard on the cold dough with the rolling pin, the edges of the disc can start to crack and split. If this happens, stop, press the cracked edges back together, and smooth the edge. Continue rolling and spinning the dough in this manner for four quarter turns. Turn the dough over and continue rolling and spinning the dough. By keeping the dough constantly moving by turning it, there is less chance the dough will stick and you are more likely to roll it into a circle shape. You want to end up with a circle about 15 inches in diameter and 1/8-inch thick.
To transfer the dough, place the rolling pin along the edge of the crust farthest from you. Using your fingertips, lift the edge of the crust onto the rolling pin and roll the pin toward yourself to wrap the dough loosely around the pin. Lift the dough and pin from the mat. Unroll the pin over the pie plate and allow the dough to settle in place so that equal amounts of dough are hanging over the edge all around.
Using both hands, lift and edge of the dough and guide that portion down into the pie plate. The goal is to make sure that the dough is touching the surface of the pie plate all over — this is especially important where the bottom and sides of the pie plate meet. Try not to stretch the dough — stretched dough will only shrink back to its original size in the oven and give you a sad, shrunken crust. Continue working your way around the pie plate, fitting the dough into the bottom and against the sides.
You should end up with about 1 inch of extra dough hanging over the edge of the pie plate. Use scissors to trim the extra dough to about 1/2 inch beyond the pie plate. Fold the edge of the pie crust underneath itself. The folded edge should be flush against the edge of the pie plate. Crimp the edges as desired with your fingertips, knuckles or using a decorative tool like the tines of a fork. Freeze the dough-lined pan for at least 20 minutes while preheating the oven to 350 degrees.
Partially blind-bake the crust: Lightly spray one side of an 18-inch piece of aluminum foil with cooking spray. Line the crust with the foil, sprayed side down. Fill the pan with pie weights. For a deep dish crust like this, use 6 cups of pie weights. Completely cover the edges of the crust with the foil.
Bake until the edge of the crust is light golden brown, 40 to 50 minutes. Remove the pie dish from oven and set on a wire cooling rack. Lift out the pie weights using the corners of the foil. The goal is for the middle of the pie shell to be just beginning to brown. If the pie is too pale, return the crust to the oven without the weights and continue to bake, checking every 2 minutes or until the bottom is just beginning to turn light golden brown in spots. The pie will bake longer after the filling is added, so it should not be completely browned at this point. Keep the oven at 350 degrees and adjust the oven rack to the lowest position.
Make the crunchy topping: Melt the butter in a small bowl. Using a small rubber spatula, stir in the vanilla, sugar, and salt (the sugar will remain mostly undissolved; that is okay). Add the panko and stir until all the crumbs are coated with the sugar mixture; set aside.
Make the pineapple filling: Melt the butter in a large saucepan over medium-high heat and continue cooking until it starts to brown. Swirl the pan and keep a close eye on it to make sure it is not getting too dark; you are aiming for a medium-brown shade that smells nutty (not black and burnt). Immediately stir in the pineapple chunks and lime zest with a rubber spatula. The pineapple will start to release some liquid. Allow that liquid to boil, then reduce the heat to low so that the liquid is just simmering. Cover the pan for 5 minutes.
Meanwhile, peel the apple and grate it using the coarse holes of a box grater. Wrap the grated apple in a clean, lint-free kitchen towel and squeeze to remove as much of the juice as possible (it’s best to do this over a sink; you don’t need to save the squeezed juice). Add the grated apple and lime juice to the pineapple, stirring to combine.
In a small bowl, mix the sugar, ground tapioca, and salt together. Pour this mixture into the sautepan and return to medium-high heat, stirring with the rubber spatula until the sugar is dissolved and the liquid starts to bubble. Turn off the heat and add the vanilla.
Fill the crust and bake: Pour the mixture into the warm pie shell. Press down on the filling using the rubber spatula or a small offset spatula, creating a flat surface for the topping. Using your fingers, sprinkle the panko topping in an even layer across the surface of the pie. Cover the edges of the pie with a pie crust shield (or a foil shield), and bake on the bottom rack of the oven until the topping is evenly golden brown, about 24 minutes, rotating the pie every 8 minutes to ensure even browning.
Remove the pie from the oven, place on a cooling rack, and allow the pie to cool completely and the filling to firm up before serving, about 7 hours.
Adapted from “The New Pie” by Chris Taylor and Paul Arguin
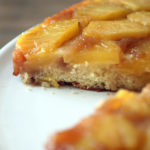
More Pineapple Love: Ad Hoc’s Pineapple Upside-Down Cake

I have never had pineapple pie but it certainly does sound good. The panko topping is interesting for a nice bit of texture…leave it to a scientist. ☺ï¸
two things i’ve never used in a pie are pineapple and panko, but both sound very appealing!!
I already make a pineapple meringue pie, but I think it’s time to extend my repertoire …
I notice there is mention of vinegar to be combined with the water in the crust directions.
How much vinegar and would apple cider vinegar be alright to use?
Thank you so much not only for sharing your recipes but also your detailed instructions.
Can’t wait to make this SOON!
Hi Penny: Thanks for catching that omission. There is indeed 1 teaspoon of apple cider vinegar in the recipe. I just added it in. Enjoy the pie. Happy baking!